What Is A Member Portal?
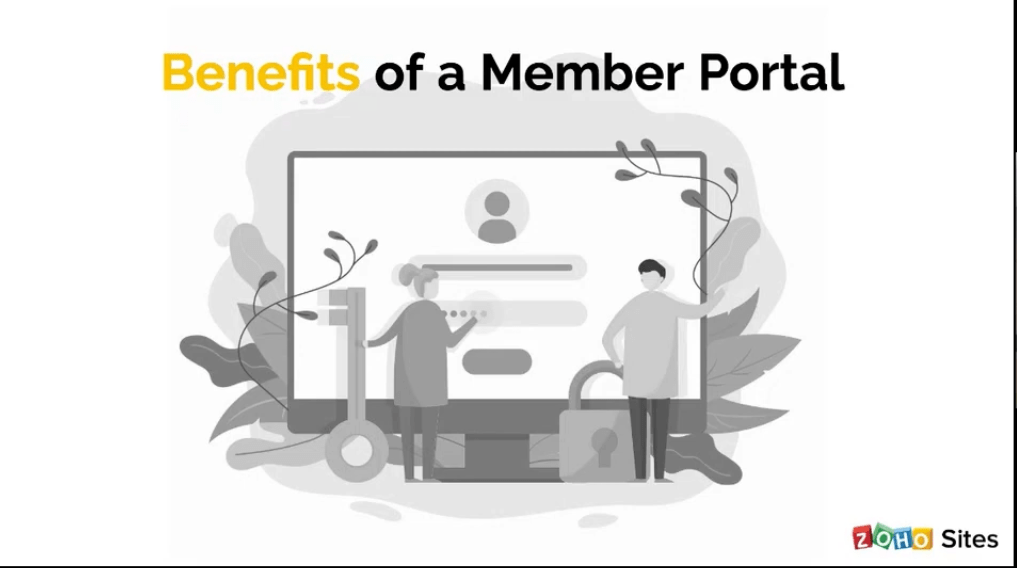
For those of you who are not familiar with the member portal feature, what it does, or what it offers is that it is a little area where you can invite people. You can either invite people to come and join your portal via Zoho mail by entering their email address and then inviting them, and then they accept it, and then they join. Otherwise, you can also have a sign-up method, where whoever lands on your site, visitors, or people you know, on the internet, if they land on your website, they can sign up and access whatever content. What a member portal does is that it helps you segregate and segment content to script it from other people’s views.
For example, let’s say you have an educational website and you have, let’s say, class grades 10, 11, and 12, and what you want to do is provide content for three of these classes, and you want to provide different continent, you don’t want it to get confused.
You can create a portal with a group of members which are maybe like, let’s say, class 10 and have whatever, you know, classes and sessions and lessons you have in that and then create the similar one for the 11th grade and a similar one for the 10th of for the 12th grade and have that. Segregated where you can go and send, you know, each specific class, email ids over there, set up a group, have them join that so that particular page, or that particular set of pages, can be accessed only by that group because they are part of that group, so that’s how you create portals in that way.
Need help creating multiple groups of members to assign permissions easily with the Member Portal on Zoho Sites?
Schedule a free consultation with our Zoho Sites specialists!

For example, let’s say that you are a photographer and have a portfolio setup. You want certain specific people to view one set of, you know, the photos that you have three or four different galleries set up on four different pages. You want this gallery to target one specific set of people so on and so forth. It’s just an easier way to segment your content and not have all of it online for everybody to see but more like a systematic way of grouping your content and streamlining the visitors who can come and view or access that specific content.
Growing A Community
Make Members Feel Welcome
Getting on into how that helps you grow a community. When you have a lot of traffic coming in, a lot of visitors coming in, and a portal set up, your visitors feel special because they feel like they’re part of an exclusive group. When you tell them that they have like a membership to a particular group or they have like a membership to something that they can like to look into, they feel like okay, I’m part of this, and so that gets them more motivated into you know, coming into your website and feeling like okay you are creating and putting out like a specific set of content for them, and then it also likes in our regards to Zoho sites.

Simple Sign-Up and Log-In
Sign-up and log-in are very simple; you enter whatever credential it is provided, and then, you know, the person who owns the website approves it, and then you’re part of the portal.
Take Control of Groups.
You can set specific groups and have your pages so you can add files and pages and whatever it is that you would like that specific group to access setup, which helps you grow your community or visitors in a way in essence as well.
Creating A Member Portal
You can find the member portal under the general section in your settings tab so once you click on that, you click on create a portal, and then you enable the portal, and that’s as simple as that. It started getting into the other video, so yeah, that’s as simple as creating the portal.
And then, if you open up your member portal, you will see that we have a bunch of preferences, so the first preference, of course, is enabling and disabling the portal, so once your portal is enabled, you can disable it at any point in time.
You can also enable or disable sign-up so you can have it in a situation where you want your website to be accessible only to the people to that you reach out to your contacts. When disabled, sign-up will prevent other people from being able to do that content, and it’ll eliminate that option for them to sign up. People can only access your content if you reach out to them and put them in that group and in that membership portal.
And then, there are two different sign-in methods; one is the default portal which you be setting up on this preference page. Otherwise, we also have the same way of signing in. You can also enable email notifications, so if you have sign-up enabled and you have people coming in and signing up to your website if you have your email notification set up, then you know whenever people sign up, you will get that notification straight to your email.
It’s self-explanatory, actually, and then you can also enable the sign-up fields again if you have the sign-up option enabled. The default fields would be the email address and password. Then you can also choose which other credentials you would like, the people, and the visitor signing up to enter. So this will help you understand the type of people you have coming in, and it’ll give you a broader perspective on how you can segment them into groups per se.
Members Option
I’m going to go through a few of the settings that the member portal provides you with. And so, with members, you can search for the already signed-up members you’ve already proved in your portal. You can also invite users and, you know, export a pdf sheet of all your members. You can keep a database or export that to your CRM or something. And we also have a list of all the members who are a part of your portal, so when people either get invited or sign up to your doorway, you can have them join the default portal, which would be like, all the pages are visible to them at that moment in time. And then, after that, you can segregate them, or you can choose an option where you already have the group set up. And so, whoever it is that you’re inviting in without having to go through the extra hassle of segments with them after that, you can have them segment as they come in.
You can look at the information of all of your members; based on the sign-up fields you have provided; you will get more information about the people who signed up and so again.
This also further helps you understand the kind of visitors were coming in and viewing your content and how you can streamline them to whichever content you would like them to access on your website. And then we have the group, so creating groups is very simple; it’s as simple as just adding a name for your group, and then you add members. You can add as many members as you need to that group. You can create as many groups as you desire for your portal, and you can also segment the pages of your website and the files that you would like to you, so that’s another option that we provide.


