


In today’s digital-centric world, a strong online presence is crucial for business success. Brands that are authentic, relatable, and well-positioned in the market attract loyal customers. With Zoho Sites, you can create a visually appealing website that delivers a seamless user experience and showcases your brand’s unique identity to stand out from the competition and engage your target audience effectively with Zoho Sites.
In this article, we will explore how to create a website using Zoho Sites, a user-friendly platform that eliminates the need for multiple logins and passwords. With Zoho Sites, you can build a professional website without any coding knowledge. We’ll walk you through the process, from accessing Zoho Sites to customizing your site and publishing it.
Accessing Zoho Sites:
To begin, visit the Zoho website and click on the “Sites” option. This will take you to the Zoho Sites interface, where you can start building your website. The best part is, if you’re already signed in to Zoho, you won’t need additional login credentials.
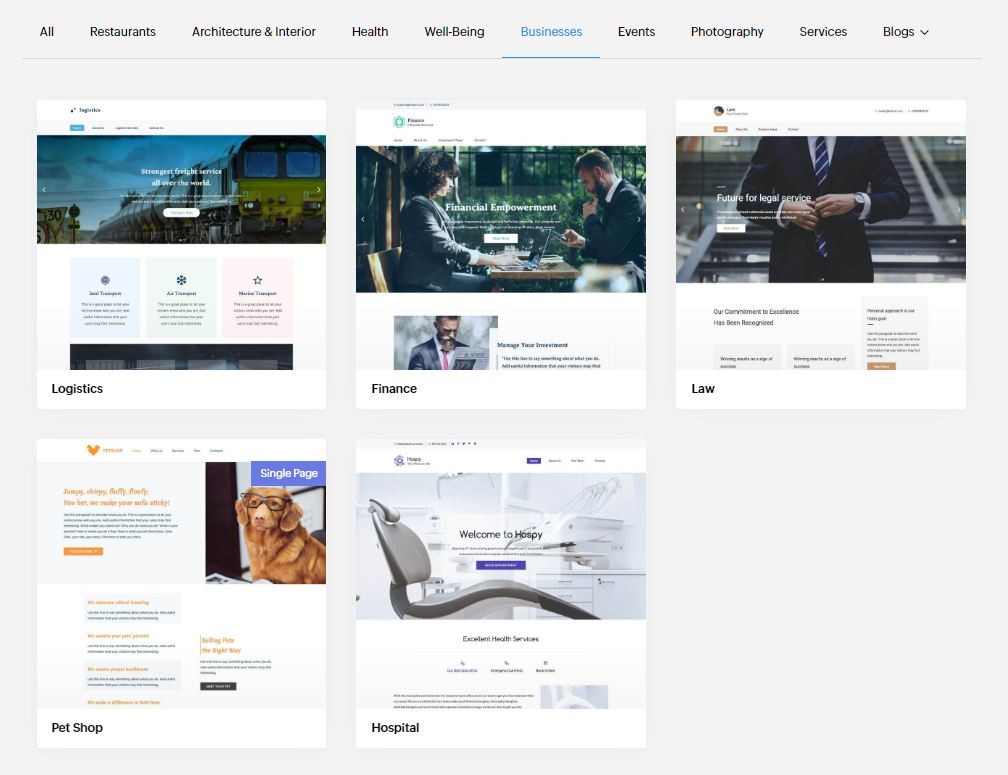
Choosing a Template:
Once you’re in Zoho Sites, explore the various templates available. These templates serve as a starting point for your website design. Browse through the options and select a template that resonates with your vision. Remember, Zoho Sites offers a “What You See Is What You Get” (WYSIWYG) editor, meaning you don’t need coding skills to create your site.
Customizing Your Site:
Once you’ve chosen a template, it’s time to customize your site. Look for a template that aligns with your design preferences. You can focus on the layout and design elements rather than the placeholder images. Ensure the template has a clean and simple design that appeals to your target audience.
Logo and Sidebar:
To personalize your site, let’s start by editing the site details. Replace the default site name with your desired title. You can also upload your logo by selecting a file of the appropriate size, typically 60 pixels by 60 pixels. Once uploaded, you’ll see your logo in the navigation bar, giving your site a professional touch.
Design and Content:
Next, focus on the overall design and content of your site. Begin by renaming the text and adding a bold header. Feel free to refer to your notes or any existing content you have to make the process smoother. You can also change the font color and size to match your preferred color scheme.
Creating Engagement:
Consider adding a signup form to encourage visitors to subscribe to your newsletter. Let users stay updated on your web-based business by filling out the form. You can position the signup form strategically, ensuring it stands out and captures attention. Make the form email-based, enabling easy communication with your subscribers.
Publishing Your Site:
Once you’ve made the necessary changes and customizations, review your site for any remaining adjustments. Double-check the content, headers, and layout to ensure everything looks polished and professional. You can also add headings, videos, and social media signup options to enhance user engagement.
Domain Configuration:
Before publishing, you’ll need to configure your domain. If you purchased a domain from a third-party provider like GoDaddy, you’ll need to edit your domain’s DNS configuration to point to Zoho Sites. This step ensures that your website is accessible through your custom domain name.
Congratulations! You’ve successfully created a website using Zoho Sites. Remember, this is just the beginning, and you can continue refining and expanding your site over time. Consider adding more content, videos, and interactive features to engage your audience. With Zoho Sites’ user-friendly interface, you can create a professional website even with limited time and technical expertise.