

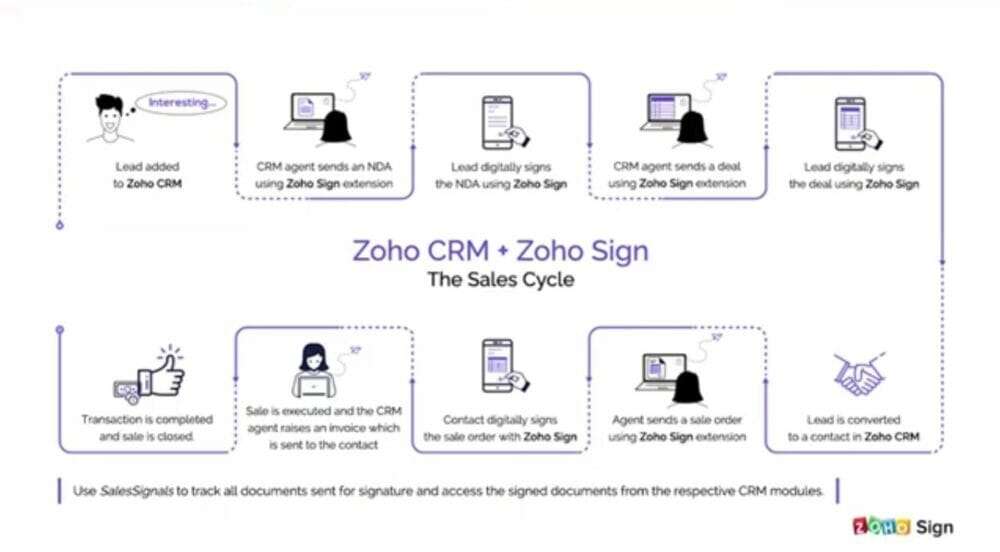
Let’s say you received a lead in your Zoho CRM, you could use a Zoho extension to send out a document to lead for the lead to engage with. And once they view the document and sign it using Zoho sign, you could send them another follow-up document that they can sign, read, accept, and sign. You could then convert the lead into a contact and execute a sale where you have the sealed documents sent to them using the Zoho sign extension. They could use the same means to go through the document and negotiate or convey if they want any changes and have them sign it later when they agree to the terms. Once the sale is executed, you can raise any follow-up paperwork, which you either need to sign or they need to sign to complete the transaction and keep the records.
All this time, you can have the sale signal feature within Zoho CRM keep track of these documents that have been sent out, and notify you if there are changes that are happening. This is ideally the complete sale cycle visualized using this extension based on what we’ve observed.
How to Use Zoho Sign Integration in Zoho CRM
Starting off, to use the Zoho sign extension for Zoho CRM, you will need a valid Zoho sign license. This could be a license of any plan, including the free plan and a valid CRM license. But, in this case, you would need a standard license or above, or you could have a valid Zoho one subscription, which is a description of all the Zoho apps, which by default grants you access to all of Zoho apps and you can access all of the features.
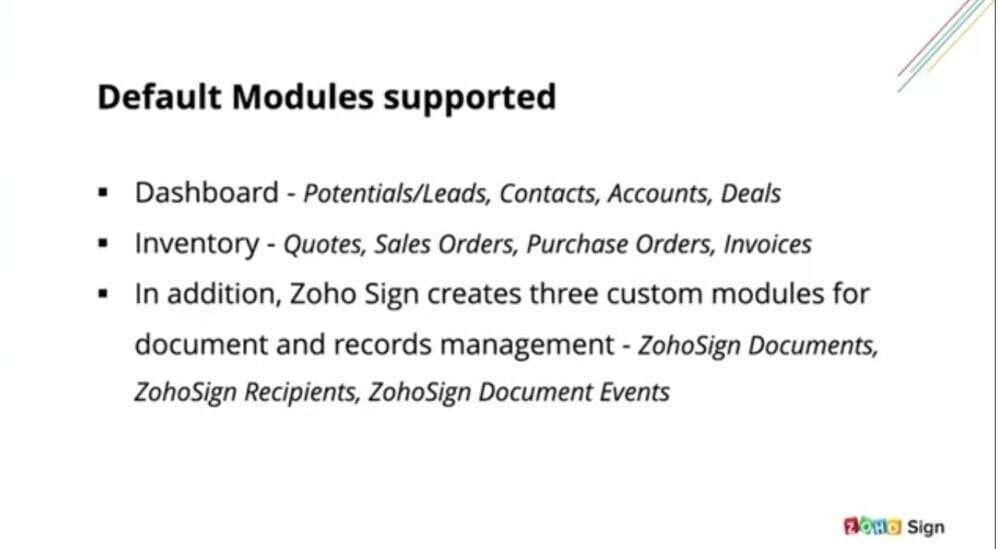
By default, when you integrate Zoho sign with Zoho CRM, it supports eight modules. It supports four dashboard modules: potentials or leads, contacts, accounts, and deals. And then four inventory modules: quotes, sales orders, purchase orders, and invoices. In addition, Zoho sign also creates three custom modules for document and Records management: Zoho sign, documents Zoho sign recipients, and Zoho sign document events.
Installing and Managing the Extension
To install the extension, you will have to go to the settings section at the top of the page. Then you would need to visit the marketplace, click all, and it will list all the various extensions. Just search for Zoho sign in the search bar, and you will automatically see Zoho sign for Zoho CRM. a pop-up bar will appear, and you can click on that to visit the extension page. Click on install; it will ask you to confirm the installation and check the personal details and the installation details. Just give it a quick look and then agree to the terms of service and click on install.
After installation, a pop-up will appear asking you if you agree to the terms of service and authorize Zoho sign to access your Zoho CRM data and process it. As you continue, it will ask you whom you want to install the extension for; you can choose to install only for admins, all users, or some specific user profiles.
After that, a pop-up will appear saying the extension has been successfully installed, and you will be on the extension Details page, where it’ll lists out all the modules that it supports.
Accessing Zoho Sign Across the Modules That It Supports
With the lead extension installed, you can have all your leads in one place, which can easily help you create a workflow to send a document out with any particular lead. You can also select multiple leads to have a bulk send workflow initiated right from within the lead module, or you could just select one lead and visit that particular lead record and click on send with Zoho sign to initiate a workflow only with that lead, and then add more, recipients onto the workflow as needed.