


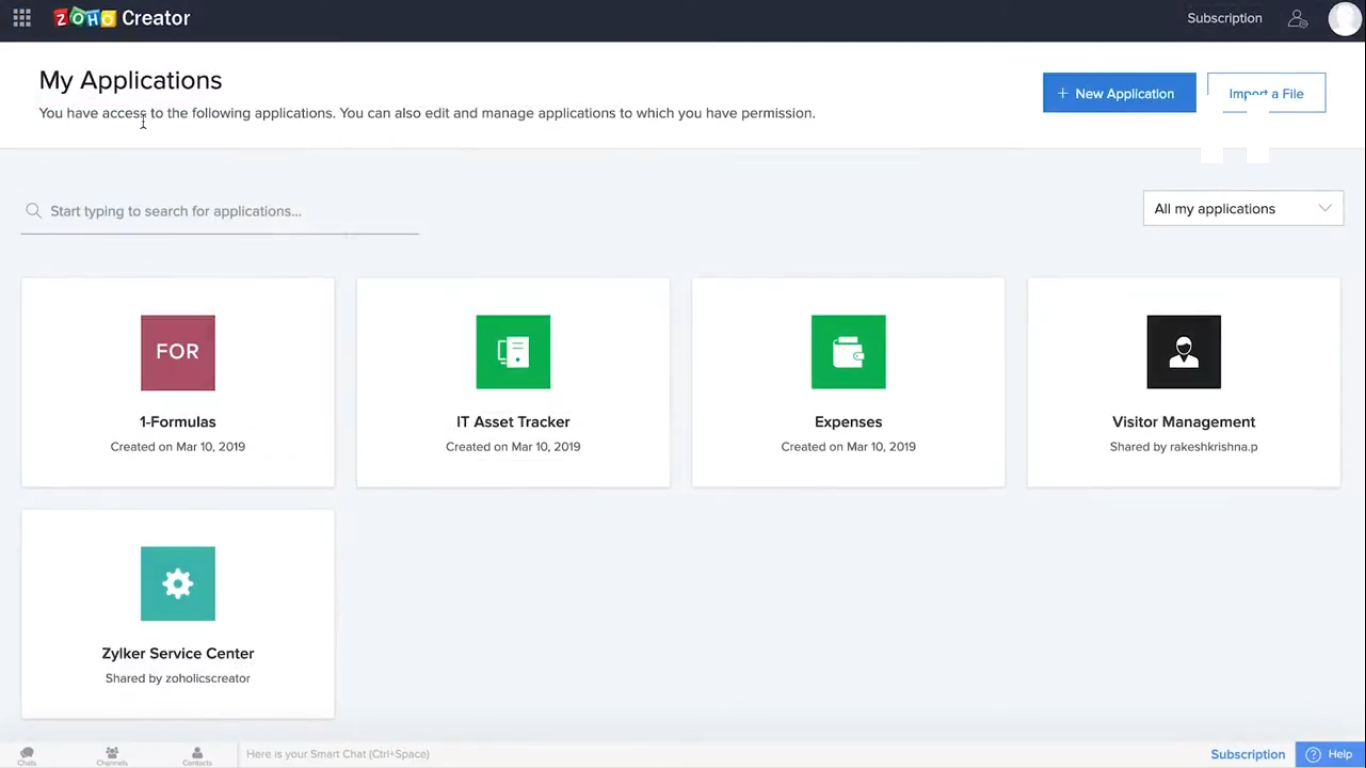
Zoho Creator is a low-code application development platform that lets users of any skill or level quickly build a powerful business application. Once you log in to Zoho creator, you’ll be taken to the home page. On this page, you’ll be able to see all the applications you’ve created and those that have been shared with you by other colleagues in your organization. You can also create a new application by clicking one of the icons in the top right corner. Before I build the time tracker app for the demo, I will quickly show you how applications can be automatically created from spreadsheets and Zoho creator. We find that most of our users who are not in it are heavy excel users and tend to be migrating many applications that used to be housed in excel spreadsheets over to a low-code platform for additional functionality and features.
Need help building a custom multi-platform application to digitize your businesses?
Schedule a free consultation with our Zoho Creator specialists!
Here you can see a spreadsheet with many different data points oddly formatted with excel formulas. I can see conditional formulas, date-based formulas as well as string formulas. What we’ll be doing is we’ll be taking this spreadsheet and shooting it over to Zoho creator to build an application. I can upload a file; what happens when this file is imported is the excel formulas are brought in with it. You can see that the sign of a number is brought in for string functions. We can also see different formulas that are brought in for every single value. Therefore, when I create this application, the application will be created automatically, and all of my formulas will be preserved. Therefore, no additional logic has to be created or recorded. Everything is automatically mapped from the excel spreadsheet directly to the creator application.
Accessing the Application
Once the application is created successfully, I can access the application, and you can see all these values here. I’ll quickly add a new one just so you can see how all the formulas are working; I will take number one as 90 and then 45, and you can see all these calculations automatically, for the average is the sum of the sine and cosine values. All of these data points are automatically calculated, and the user puts zero effort into digital configuration. I’m going to show you one more feature of our importing tool,
In addition to automatically bringing over formulas and logic from excel into a creator application. We noticed that many of our users they’re importing poor data; as with any database, we know that garbage in means garbage out; therefore, we needed to make a tool to help our customers import better data.
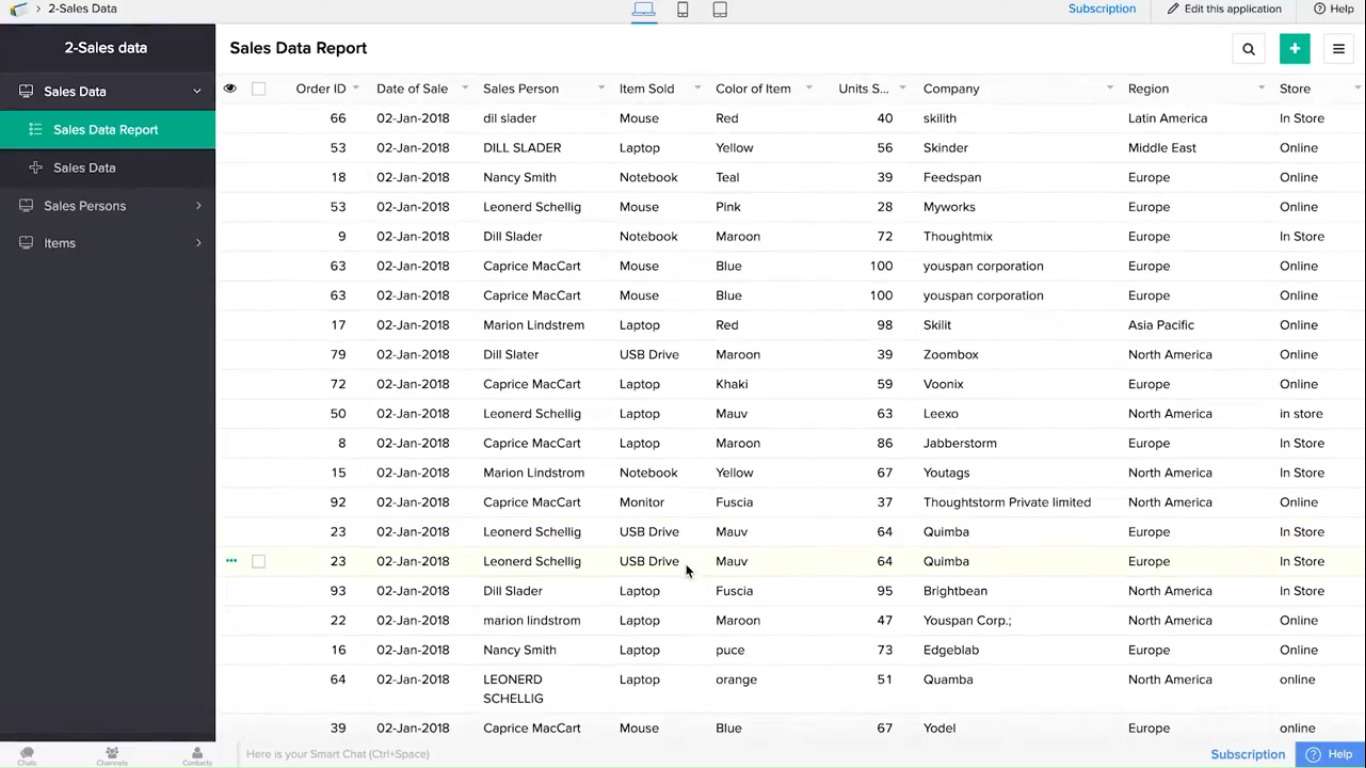
Now I’m going to import one more file, and we’ll see how this one looks. First, we’ll look at this item sold column, where you can see some of the values are similar. However, they have a different naming convention—for example, notebook and notebook, monitor and monitor. We can clean this entire column up using a tool, will refine the data, and fix, are inconsistent spellings for the item sold column. It will identify all the different values that match a similar grouping and then bring them together with a single unified value so we can clean up that entire column with the simple click of a button. Now, all those values will be replaced with their proper terms. Last, sometimes there are blank values that need to be quickly replaced. You can refine the data for this column for our region and instead of fixing the inconsistent spelling, what we can do, is we can fix the missing values. We can choose a couple of options for what we want to do with them. You can either remove the rows altogether, or we can fill it with a default value, like, unknown, and will click apply. All those cells got filled out. If I close this panel, the unknown is listed, so no more blank data goes in.
As you can see, using our ai tool, we can identify inconsistent pieces of information and prevent that from going into the system from the start. Therefore, it’s ready to go when the user starts using the data. And even better than it was before, automatically with no effort involved.
Time Tracker Tool
Back on my application dashboard, I’m going to click on create a new application in the top right corner; you can see we have over 50 applications from our app deck. These are all fully featured applications with workflows and data models already created for a user to pick up and start using right away or to tweak and meet their own needs; for us, we’re going to make a new application from scratch and call this my time tracker.
We will be able to make all of our changes to add the application’s data model, the workflows, and any settings that apply to the application. The first thing we’re going to do is create a new form that will be considered a table and the application. There are four different ways, a form can be created from scratch using the blank method, importing from a spreadsheet, similar to how we made an application, but this time, it only creates a form but still brings in the data. The next option is using template templates, similar to our app deck, in the sense that they’re pre-made and have workflows bundled in with them. For example, we could easily use our time tracking sheet option that already does the exact requirements for this demo for demo purposes; we will be rebuilding this one from scratch.
Integration forms are a way to create a unique interface that users can use to input data into a third-party service automatically. For our example, we’ll create a table for employees with data already in a spreadsheet. I’ll select the import with data option and pick our file. You’ll see all the data in the spreadsheet and field types that are automatically mapped based on data we detected in those cells. For example, employee id became a number field, email was automatically identified as an email field, and the rest were identified as a normal text field. Now that I see that all the data is organized properly, I can go ahead and click create; now that the form has been created, I can access this application.
I’m taken to a report called all employees; this report contains data from the xls file; at the same time, a form called employees is automatically created. This form includes the fields based on the data imported. We can go back to the builder and click edit this application to be able to make further changes. We will create one more form that can hold our timesheet information. We will click the plus button to create a new component and select the form. We’ll make a blank one; we’ll call this our timesheet. There are many different field types on the left-hand side, from plain text to ones too smart fields, like phone numbers and addresses, and also media fields such as file uploads, videos and audio, and signatures. In our case, we need a couple of simple fields, such as check-in and check-out times. I’ll pick up a field and drag it over, I can call this my check-in time, and on the right-hand side, you can see there are many different properties, and for every different field type, there are different properties that may pertain to it. I’ll add one more date time field, and I’ll call this my check-out time last; I’m going to create what’s called a lookup field, which will connect two different tables or two different forms in an application.
This will create a relationship between this timesheet and a specific employee; I can configure multiple fields to be shown in this little display. For something like a phone number field, you can see on the right-hand side that a normally phone number field contains personal information naturally. Compliance and security are super important with the applications built in a low code platform. We can enable or disable certain fields from being tagged as personally identifiable information or PII filed. Once these fields are tagged, when that record is deleted, it’s fully purged from the system, and there’s no recovery.