


Creating A Journey
First, create our journey, then add a journey name and a description. Then create a state. Our state name is lead created. Then we choose our modules as leads.
Now that our state has been created let’s look at the available actions we have. The available instant actions are: automating field updates, email notifications, creating tasks, webhooks functions, and adding tags, slack, or click notifications.
For schedule actions, you can set a particular action to occur after a record is in a certain state for a certain number of days, hours, or minutes.
Under scheduled actions, we have all the original ones except adding and removal of tasks and slack click notifications. These same actions are available under recurring options as well. If you want an activity to occur repeatedly at regular intervals, you can set a recurring action.
For example, in real estate, you can send reminder emails every day for Lee to sign up for an open house, notify the seller after the buyer confirms the booking, or send email alerts.
Creating A Transition
To create a transition, click on the plus icon in the middle of the screen, and then you can start defining your transitions. First, you fill out a transition name and then choose a trigger. There are a whole bunch of triggers that you can choose. For this example, we would choose a standard layout.
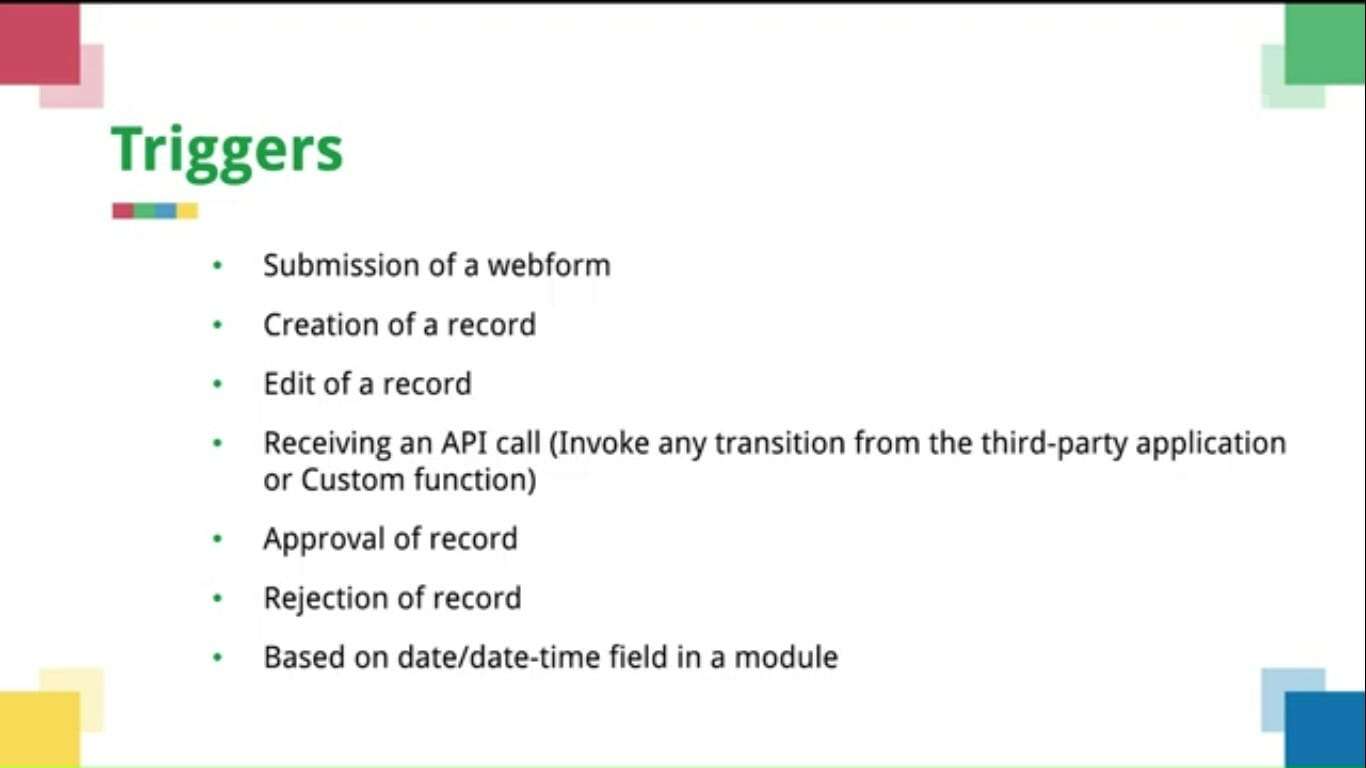
There are triggers for:
- Submission of web form
- Creation of record
- Edit of record
- Receiving an API call. (if you want to invoke any transition from a third-party application, you can select this option and copy the API URL provided by us. Also, you can mention the parameters that could be passed along with each API call. You get to select a maximum of six parameters)
- Approval of record
- Rejection of record
- Based on the date/date-time field in a module
Creating A state
Next is to add another state. The state would be for contact creation in the contacts module. Then set a trigger for when the lead is pre-qualified (conversion of lead), and add a condition to the state (lead status set to pre-qualified).
Next is to create another state for when the lead is not qualified, then create a deal approval state also.
When you enable Command Center, it will be available as a separate module in your CRM. All the records available in a particular Journey, its instant ID, its current state, and the command center start time.
Command Center opened up to our Zoho users about three months ago. However, a couple of weeks ago, a new enhancement was made in addition to pre-existing record triggers we now also have for triggers in the Command Center.
These are the new signal triggers in the Command Center that help us achieve transitions out of the box
for our email integration in Zoho CRM triggered. You can trigger a transition of a state when an email is sent, whether it’s opened, bounced or not opened, replied to or not replied to, and unsubscribed, among other things. It means that after a few reminders, you can trigger the lead to go back to initial contact or just mark them as uninterested.
There are also similar triggers for calls, you can trigger a transition when receiving an incoming call, or an outgoing call is left unattended, or a scheduled call goes over to you.
There are also available triggers for various actions Integrations, including sales IQ, desk, survey, backstage, webinar and campaigns, and custom signals as well.
Deactivation/ Deleting A journey
Command Center lets you create up to five versions of each journey. But at any time, only one of these can be active. Deactivating a process is fairly easy. You simply use the available toggle buttons.
Deleting a journey can be done by using the trash icon. Please keep in mind that all the records currently in that process will be exited once you decide to delete your journey. Also, the history of Records in that particular journey will be permanently deleted, and all the actions associated with the journey will be stalled.
Creating A Report
There are four reports available for our processes in the Command Center. The first is State-wise segregation, the average time taken in each state, overall report, and finally, custom reports.
Let’s look at the first three kinds of reports first.
The state-wise segregation report shows the number of records that are available in each state. The average time reports show the amount of time a record spends in one state (you can figure out delays pinpoint the bottleneck States, identify the state that has maximum stagnation and note the time taken for transition). A comprehensive report gives a total representation of the entire process with the record count, shown in each state and transition.
We recently came up with custom reports. Simply go to your reports module and click on create a new report, and under the module selected, all your creative journeys will be visible. Simply select the journey you wish to create a custom report for and select your related modules, and you can go about building your custom report just as you would do for any other module.
Visibility of Records
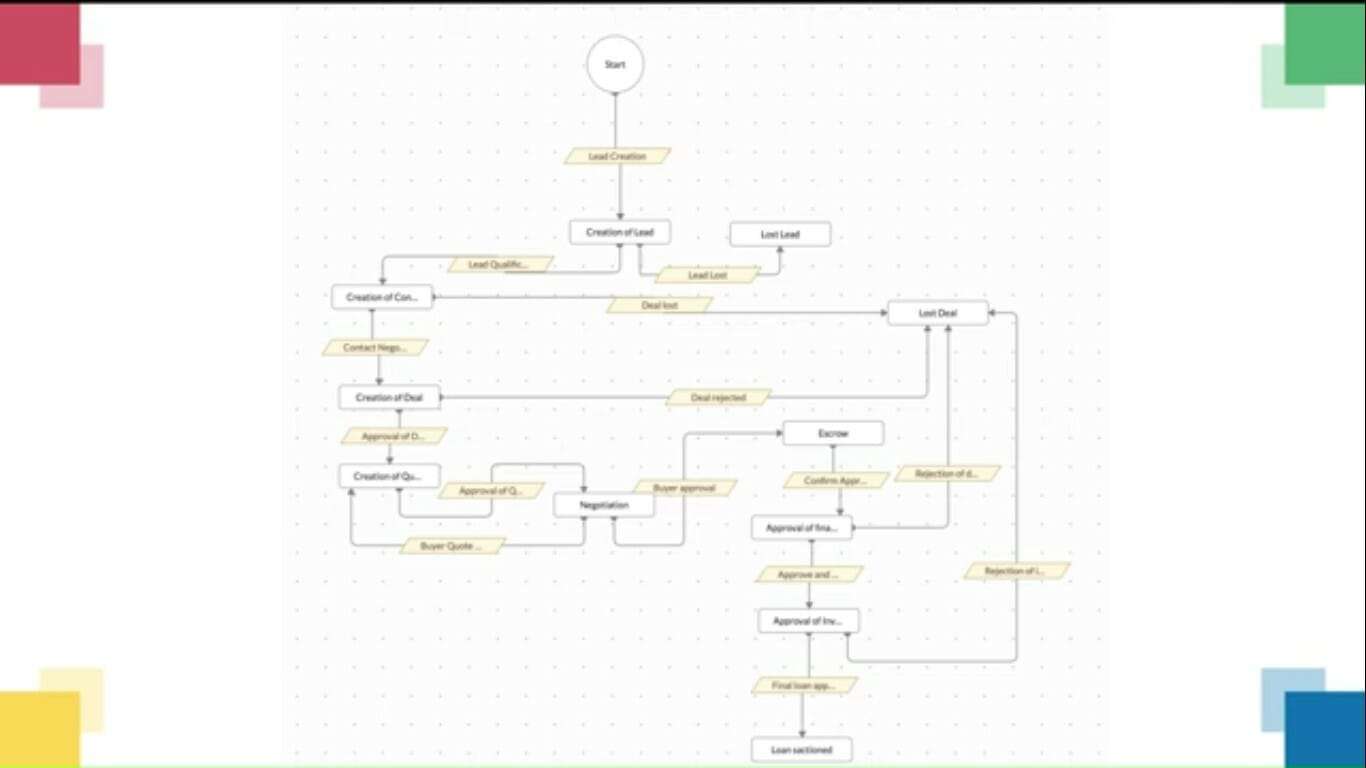
Now that your lead is created, when you take a look at the lead here, it shows the command center state that it is in, and when you click on this icon over here, it shows a brand more branched out the view from start to the creation and its next step. It also shows the next action to be taken and its date.
You can always add more; you can Branch out and add more States and transitions according to your business process. When you go to your command center module, which shows the lists of Journeys that you have, you’ll notice this chat interface right on the bottom that allows you to chat with our experts specific to command center queries.