


The first thing we are going to do is to show you how you can easily create an account.
Copy your email address and paste it, then go to the password tab, input your password, move on to your company name and phone number, agree to terms of use, and sign up for free. You can also sign with Gmail if you want to.
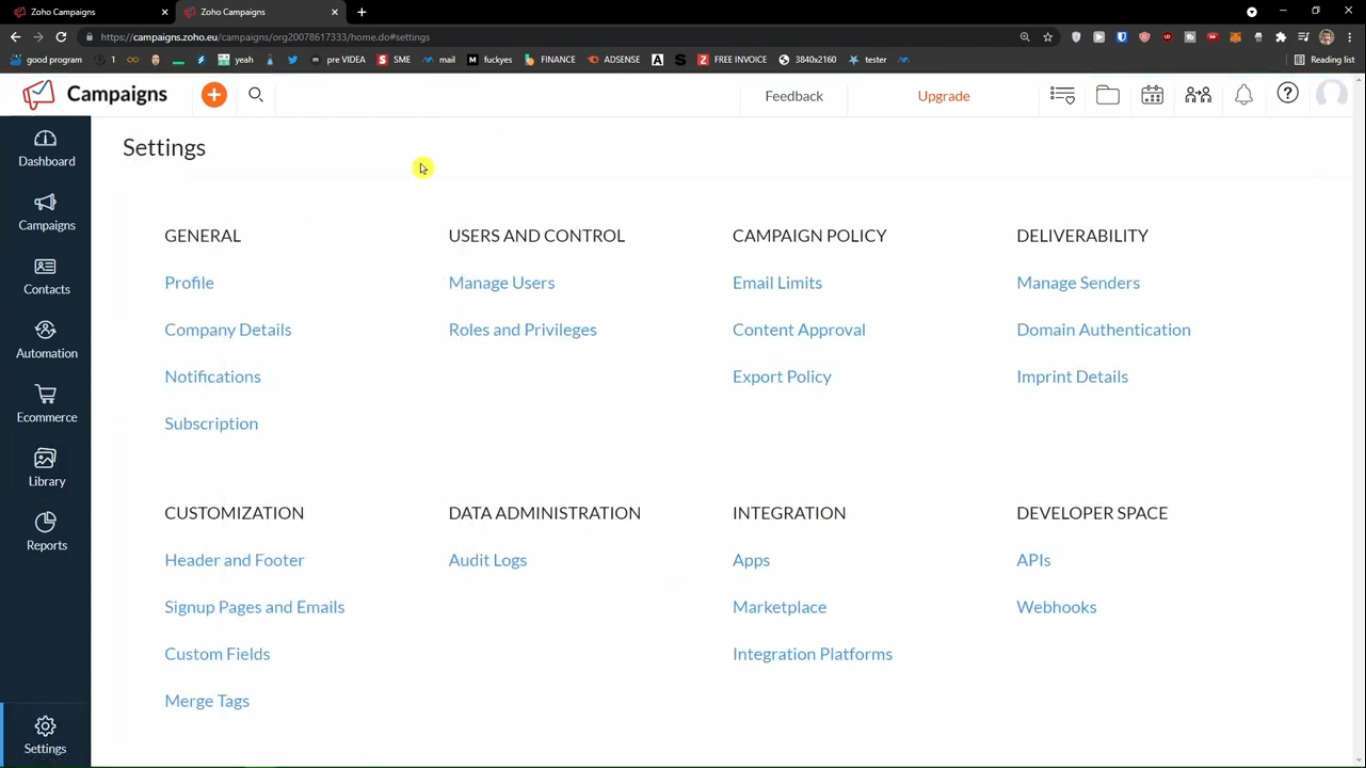
The first thing I recommend for you is to activate the email and verify its access to your account. In the dashboard, you would find all the things you can do, create a campaign, email automation, plug in your ecommerce store or add a contact, create a sign-up form or send an invite. We’ll show you can do everything from this. In campaigns, we will be making a campaign then, we’re going to see the contact, and the first thing that we are going to do is we are going to create contact, then we will look at automation and how you can create an autoresponder.
Need help understanding how Zoho Campaign can impact your business?
Schedule a free consultation with our Zoho Campaign Expert!
How Do You Add Contacts and Manage Lists?
To create a list, you need to click on a contact. Then you can see the manage lists, click on it and let’s first create a list. If you have to do or, you need to have the GDPR compliance if someone from your potential sign-ups or emails are from Europe. Say we don’t have any European contacts, but if you have, you need to proceed. The first thing we will do is create an e-commerce list. And to tell contacts how we know them, let’s click create. And we can add an email newsletter and click create. We can import contacts, sync contact, have a sign-up form, or add the contact. We’re going to show you how you can add individual contacts and import contacts and then how you can also create sign-up forms and click on add contacts. Contact basic details, copy and paste the email in the slot provided, add the client name, and you can have the job title, company name, and phone number. If you connect it with an e-commerce store like Shopify, you would need to have everything filled out.
Custom info-account and social information that you can add multiple things here. This is how you can do it, and this is how you can add a new contact. We’ll simply click add. And look at this new contact, the total count. When you click a contact and click on allow all contacts, you can see that these are my contacts. You would have tags you can add a new contact.
Also, when you click on contact here under all contacts, you see the manage list here and look at this. This is your list of e-commerce, and you can add contact forms and more.
Segment.
Send relevant emails to segmented contact based on geography, demography, and buying behavior forms.
Adding Multiple Contacts
Adding multiple contacts, you just have to wait for a while and you can simply add plenty of contact emails. Let’s say that your importing feature is not working very well. You can simply add a contact, email contact, email first name, and last name, which works similarly to adding one email.
How can we work with active contacts? When you click on a contact, you will find a contact status, do not email contacts, blocked contacts, or recent contact.
Sign Up Forms
We’re going to show you how you can create sign-up forms. What you want to do is click create new when you click on the contacts and sign-up forms. All you have to do is change the form’s name so let’s do this and say this will be an e-commerce form.
Then you can select a template, and now you’ll have plenty of forms to see banner forms, long forms, and standard pop-ups. The really important thing that your compact form or would ever sign up form that you’re going to have should also be responsive for mobile people can fill it too. You choose which one you want like. You can go with a standard pop-up or just long forms. Choose one of the compact ones, and click use template. When you choose a template, you can easily edit as much as you want. You can see the page body and change the background image, color, border, and everything.

You would click the input field, the first name, you can easily change it, then you would also have the input field, email address, and easily change the texture. Pretty straightforward and pretty easy. You can also change the wave, and then you get the last button that you sign up for, and you can change the text here, the background color, border, everything, and the size.
You can do much with it, and you can change the width and the height to make it bigger. Completely up to you. You can also have it set up here: first name, last name. And then what you can do is like, edit it. Then you can also preview it. How it’ll look like, and you see it’ll look like this on your website. Then you can also change the template receded and save and proceed, click like save and proceed.
When you have the form, you will have to edit the design or preview it. You can associate this form with the mailing list and get the embed code. You can click the mailing list and you have the email mailing list ecommerce. Click associate and then you should have a URL.
You can edit on your website or somewhere else, or you can just easily add it to your website and link it up. And then, you can have the responses here. The response will redirect the new contact to the sign-up thank you page. Existing contacts will redirect to sign-up contacts and will receive a confirmation email.
You can of course edit the responses; you see the thank you page and you can edit details and edit the page.